22 Christmas Village Display Ideas for a Magical Holiday Home

There is something quietly magical about a Christmas village glowing in the corner of a room. The tiny lit windows, the snow-dusted rooftops, the little figures frozen mid-errand: it pulls people in like nothing else in your holiday decor. These christmas village display ideas will help you set up a scene that looks collected and intentional, whether you own three houses or thirty.
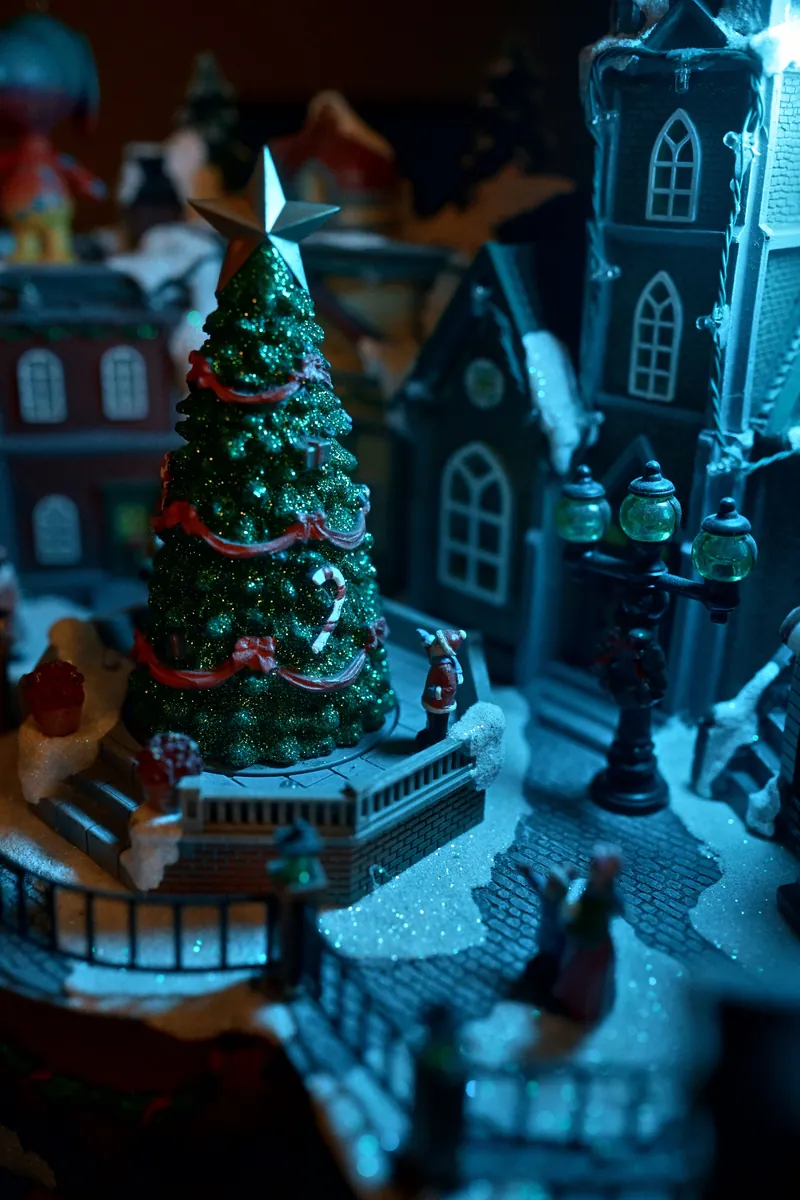
How to Plan Your Christmas Village Display
Before you unpack a single house, take ten minutes to plan. Measure your surface and note where the outlets are, because nothing ruins the magic like visible cords. Pick one focal piece (a church, a town hall, a clock tower) and build around it, keeping taller pieces toward the back. Use risers or stacked books under your snow blanket to create gentle hills, and always wire the lights BEFORE you scatter the snow.
22 Christmas Village Display Ideas to Try This Year
1. The Classic Under-the-Tree Village
The tree becomes a giant glowing backdrop while the floor around the base turns into a natural town square. Measure around the tree stand first, lay down your snow base, and place the largest buildings toward the back near the trunk. These christmas tree decorating ideas pair beautifully with an under-tree scene. Keep gifts to one side so the village stays visible.
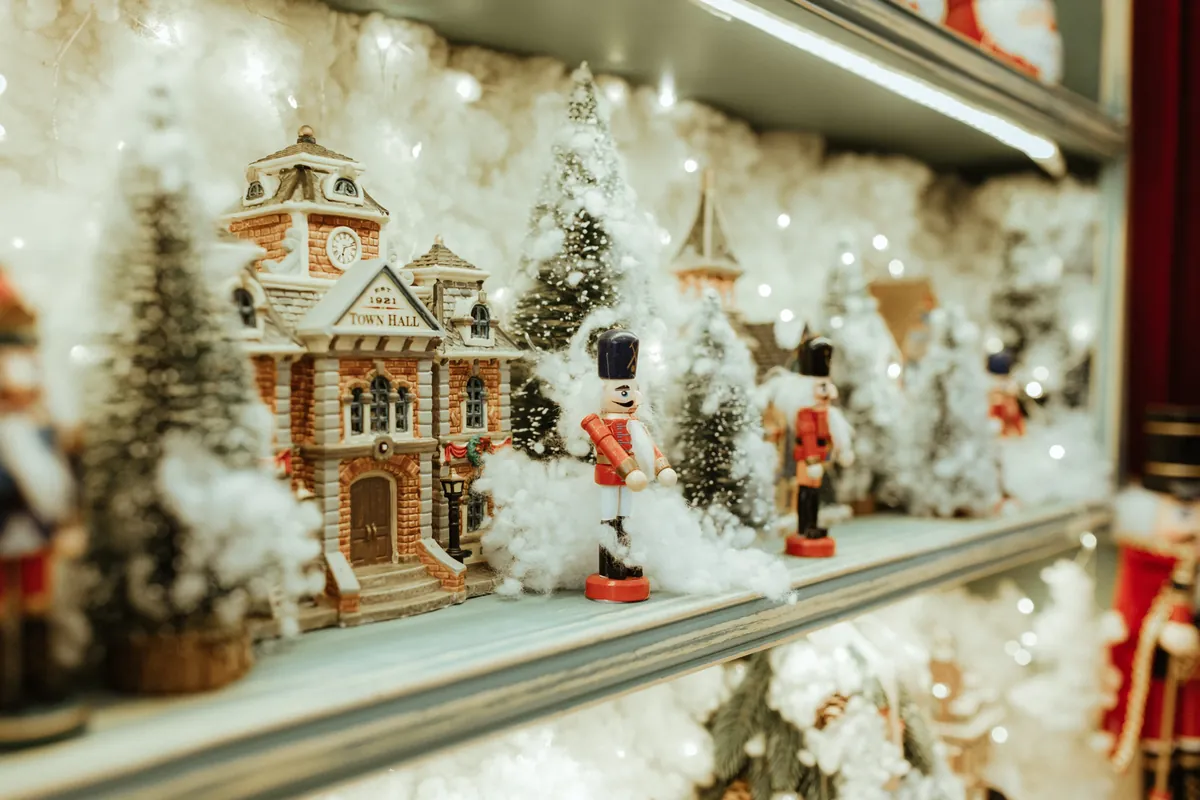
2. A Glowing Fireplace Mantel Village
A mantel is made for villages: long, narrow, and already the warmest-looking spot in the room. Line up houses along the top, tuck bottle brush trees between them, and drape garland over the front edge to hide the base. These christmas mantel decor ideas show how to style garland and stockings around your village. Battery tea lights keep cords off the mantel.
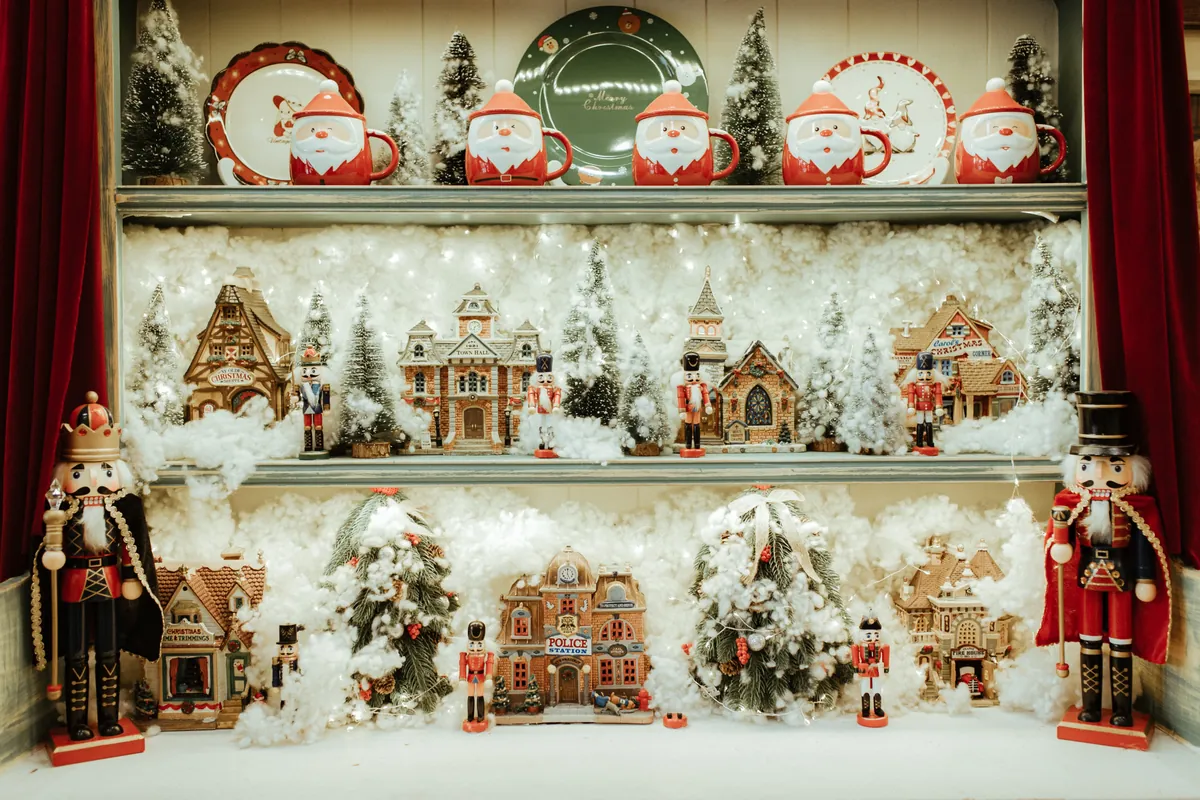
3. A Tiered Tray Mini Village
A two or three tier tray holds a surprising little town: one tiny house, a couple of trees, and a figure or two per level, all on a kitchen counter or coffee table. If you styled a fall tray this year, the same tray gets a holiday makeover with the approach in these fall tiered tray decor ideas. This is also the cheapest way to start collecting.
4. A Bookshelf Neighborhood
Give each shelf its own neighborhood: shops on the bottom, houses in the middle, a church on a hill up top. Vary heights with small risers so houses do not line up like soldiers. Pin deep blue or gray paper to the back panel for a night-sky effect that makes every lit window pop.
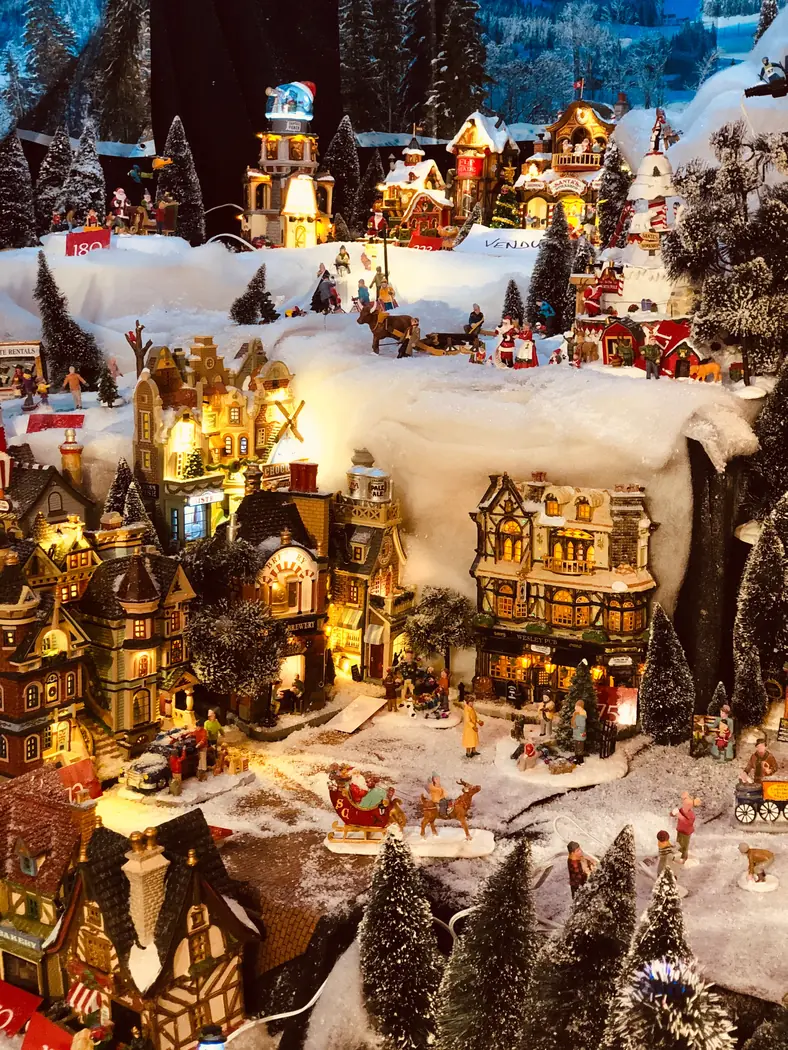
5. A Console Table Winter Town
A console table is the perfect depth for a single-row village with real presence. Lay a white runner or faux-fur strip as your snow base, then arrange five to seven buildings in a gentle curve rather than a straight line. Curves read as streets; straight lines read as a store shelf.
6. A Windowsill Row That Glows at Night
From the street, a windowsill village looks like a lit-up town seen from far away. This works with as few as three houses, which makes it ideal for small collections. Use LED candles or battery lights so no cords cross the window, and keep the arrangement low enough to still open the blinds.
7. A Dining Table Centerpiece Village
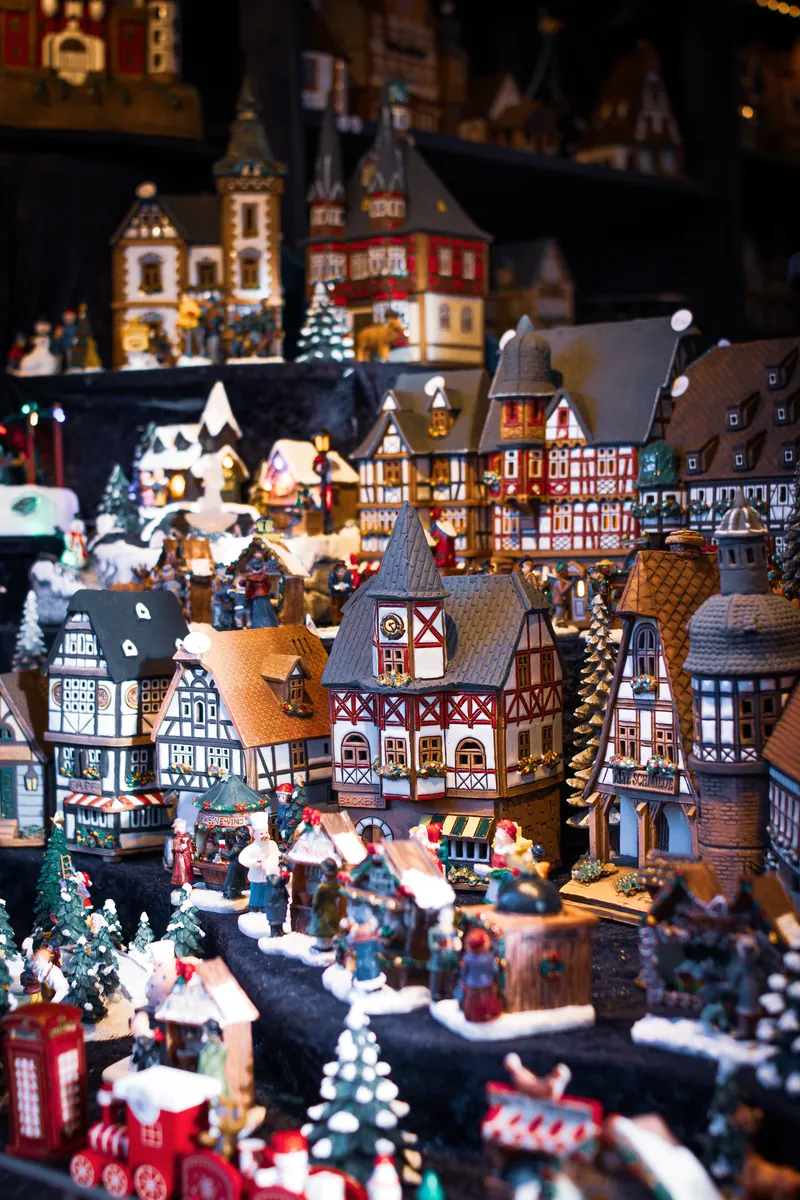
For holiday dinners, a low village runner down the middle of the table beats any floral arrangement for conversation value. Keep every building under about eight inches tall so guests can see each other over it, and use flameless candles since real flames and faux snow do not mix. A narrow board underneath makes cleanup easy.
8. An Entryway Welcome Village
A bench, a narrow side table, or even a shoe cabinet top works for a small entryway scene. Three houses, a lamppost, and a dusting of snow say “holiday home” instantly. Pair it with these christmas entryway decor ideas and your front door area feels finished. Keep it simple here; entryways get bumped.
9. A Hutch With a Village on Every Shelf
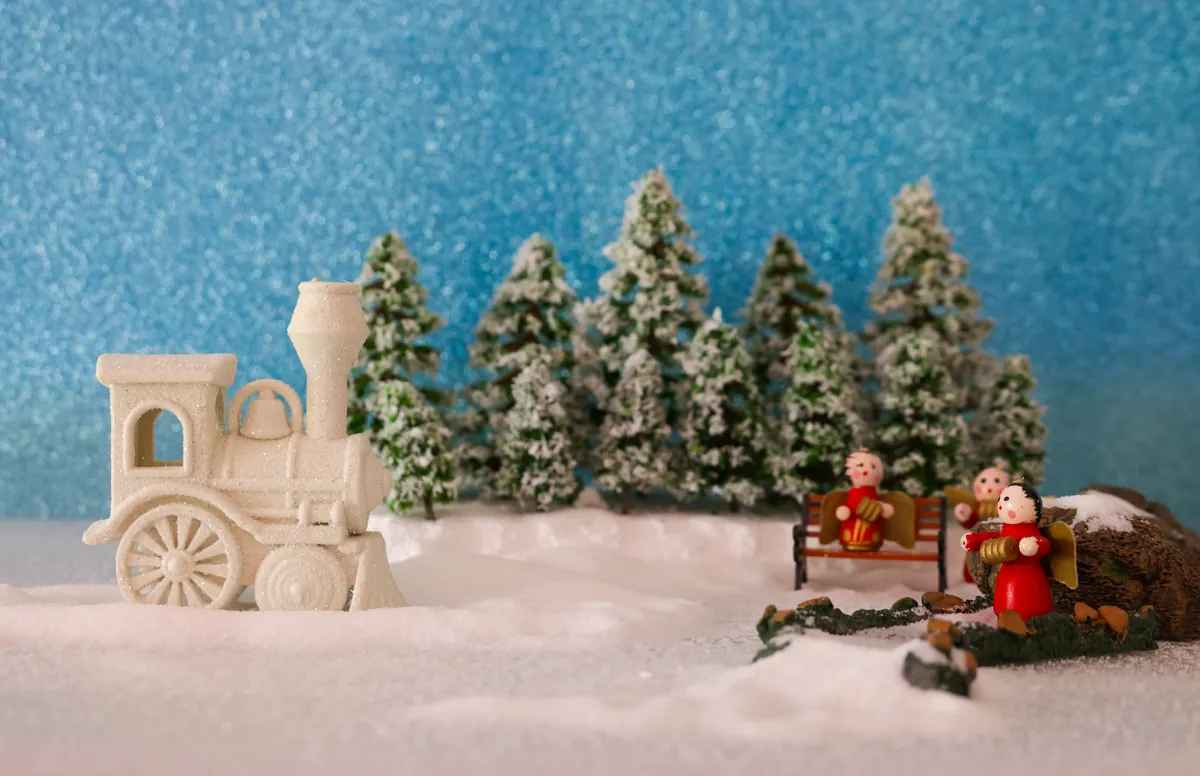
A hutch is a ready-made village apartment building. Remove a shelf or two for taller pieces, then give each level a theme: a market square below, houses in the middle, a mountaintop chapel on top. Glass doors keep dust off and the cabinet’s own lighting does half your work.
10. A Mirrored Base That Doubles the Lights
Set your village on a large mirror or mirrored tray and every lit window reflects. The display instantly looks twice as full, a wonderful trick for small collections. Scatter the snow over the mirror’s edges so the reflection reads as a frozen pond rather than bare glass.

11. Gentle Hills With Hidden Risers
Flat villages look flat. Tuck overturned bowls, stacked books, or foam blocks under your snow blanket to build low hills, then perch the church on the highest point. Drape the blanket loosely so it falls in natural drifts. Elevation is the biggest difference between a village that looks “set out” and one that looks “designed.”
12. One Grand Church as the Centerpiece
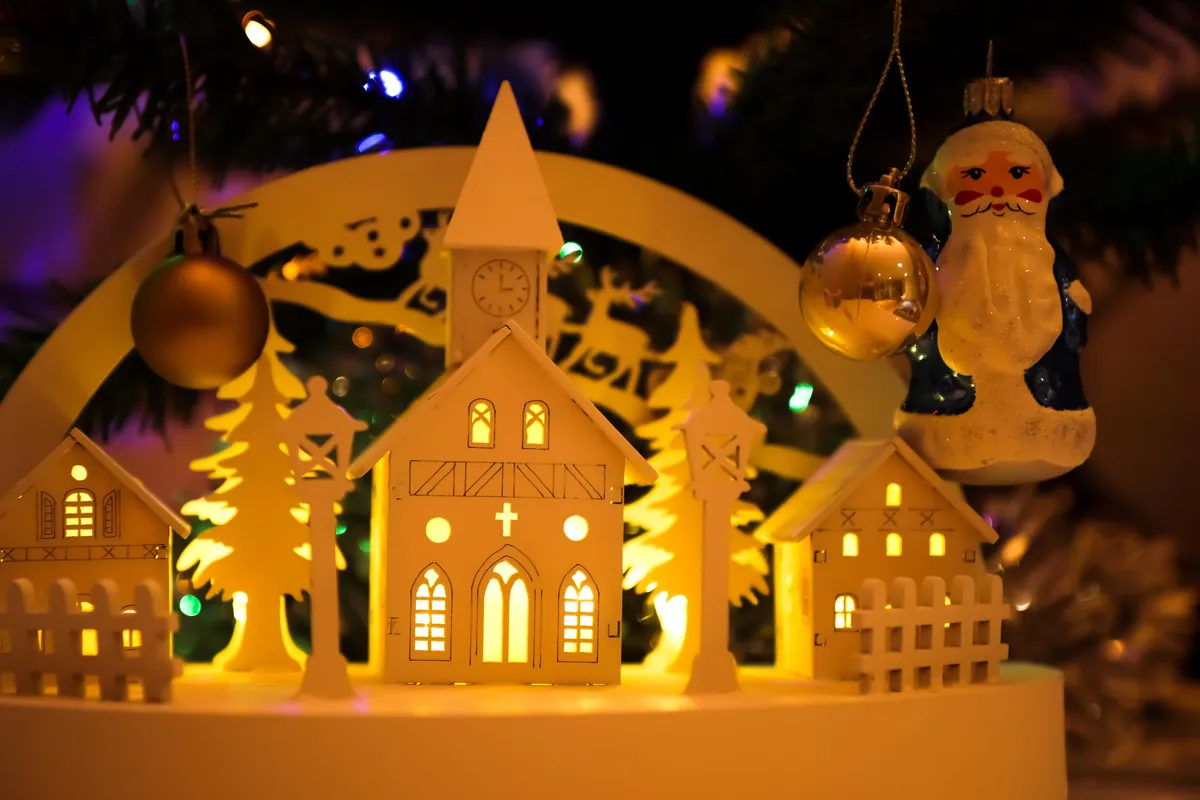
Every great village needs an anchor, and a lit church with a steeple is the classic choice. Place it slightly off-center and a touch higher than everything else, then angle the smaller houses toward it. A warm white uplight behind the church makes it glow like the heart of the town.
13. A Train Circling the Whole Town
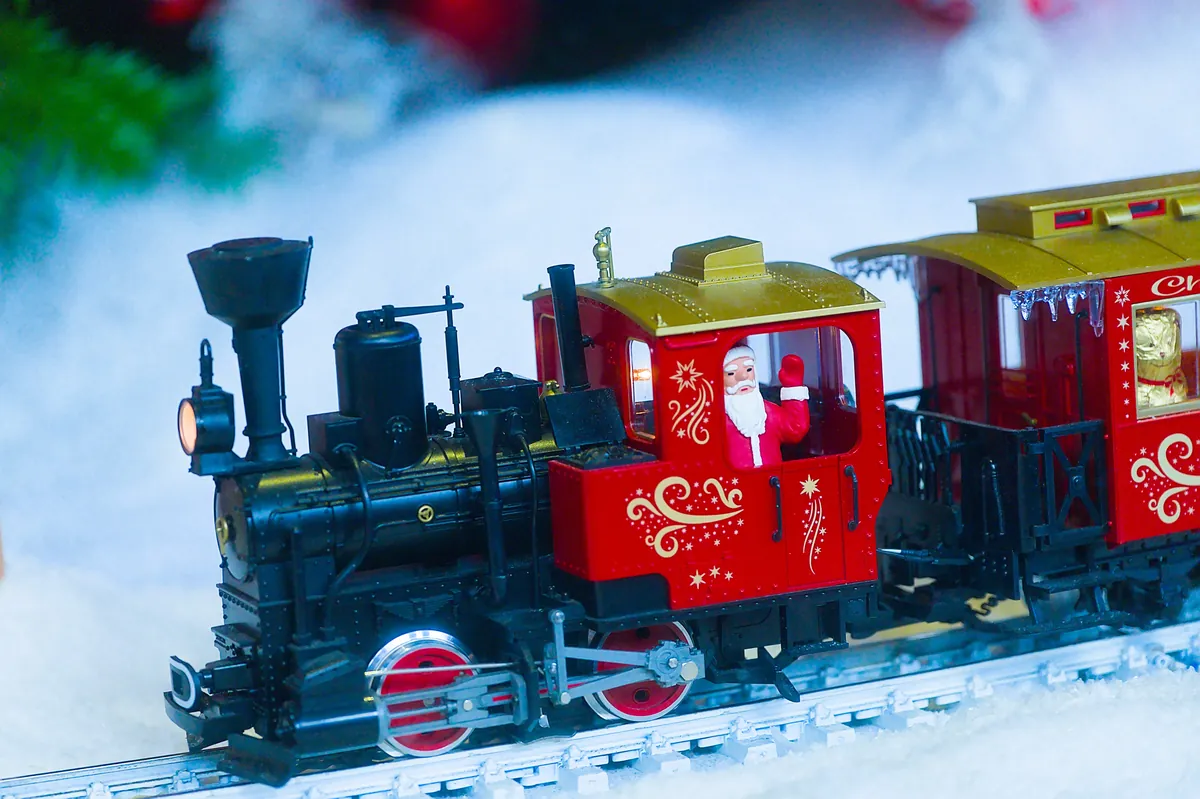
A miniature train looping the village adds motion and nostalgia. You need a clear oval of track with a few inches of clearance, so this suits floor displays and large tabletops best. Run the track first, then build the village inside and outside the loop, keeping the track slightly raised so snow does not gum up the wheels.
14. A Frozen Pond With Skaters
A round mirror or a piece of pale blue craft foam becomes a frozen pond. Ring it with bottle brush trees, add two or three skater figures, and dot cotton “snowbanks” around the edge. Place it near the front of your display where people can see the tiny details.
15. Lampposts and Lit Windows for Evening Magic
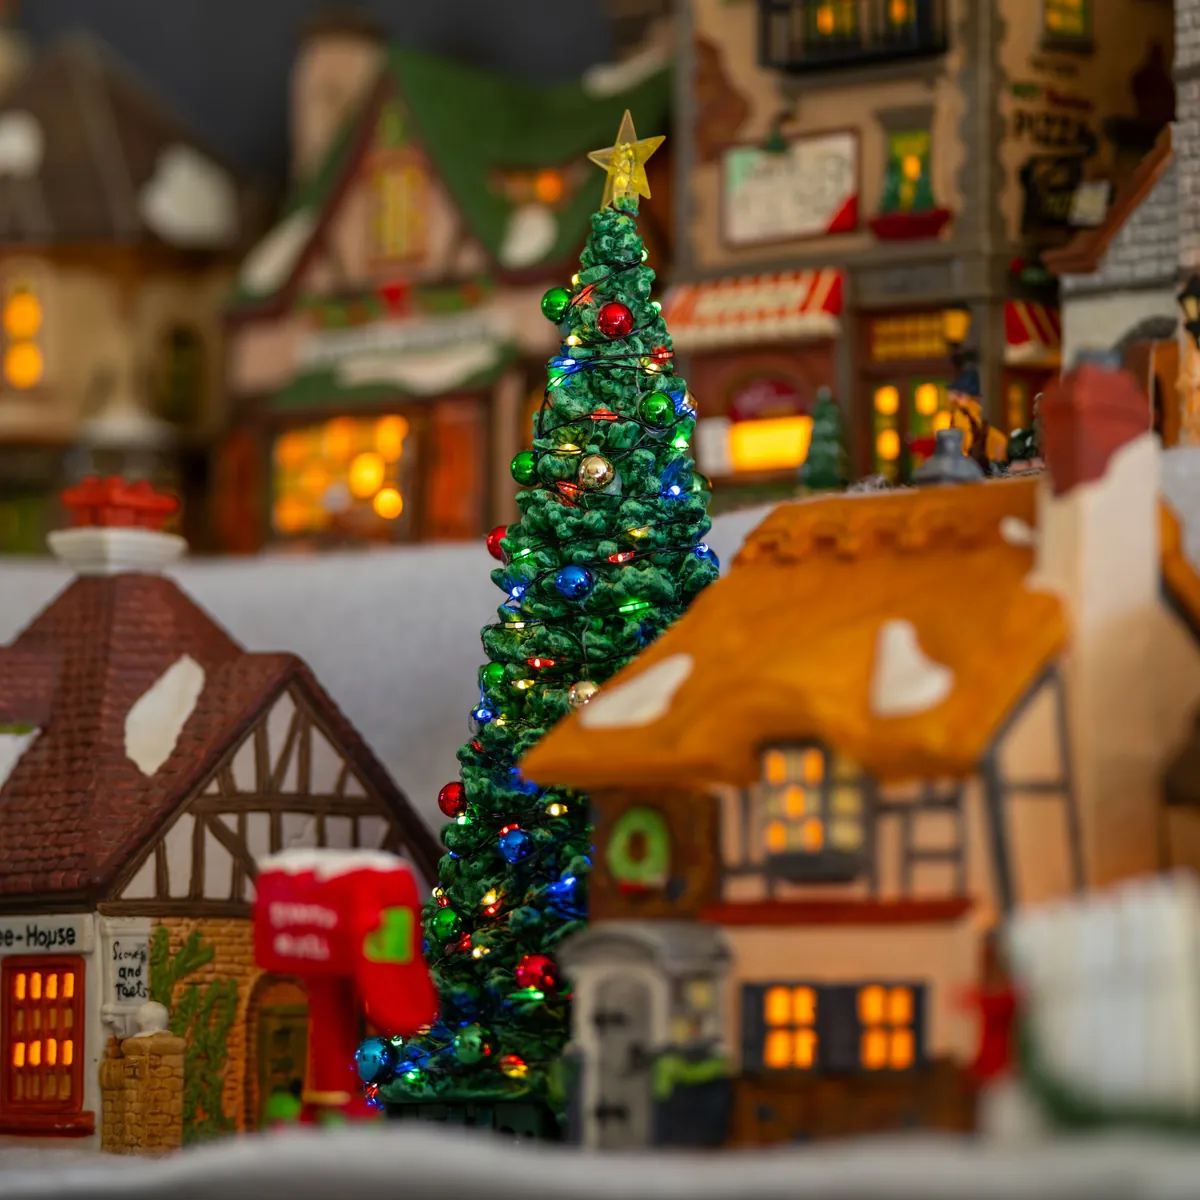
Villages earn their keep after dark. Add miniature lampposts along your “streets” and make sure every house has lit windows, even if you add battery tea lights to unlit pieces. Warm white light reads as cozy candlelight. Step back and squint: the village should read as a scatter of golden dots.
16. Deep Snow With Bottle Brush Trees
Use a white fleece blanket or quilt batting rather than loose glitter snow, which migrates everywhere. Then go heavy on bottle brush trees in mixed sizes: clusters of three at different heights look like real evergreens. Trees fill the gaps between houses so the village feels like a place, not a lineup.
17. A Village Under a Glass Cloche
For a single special house, a glass cloche or large apothecary jar turns it into a snow globe you can see into. It protects delicate pieces from dust and curious hands and looks stunning on a side table. Add a pinch of faux snow inside and a small LED light behind it.
18. Mason Jar Mini Villages
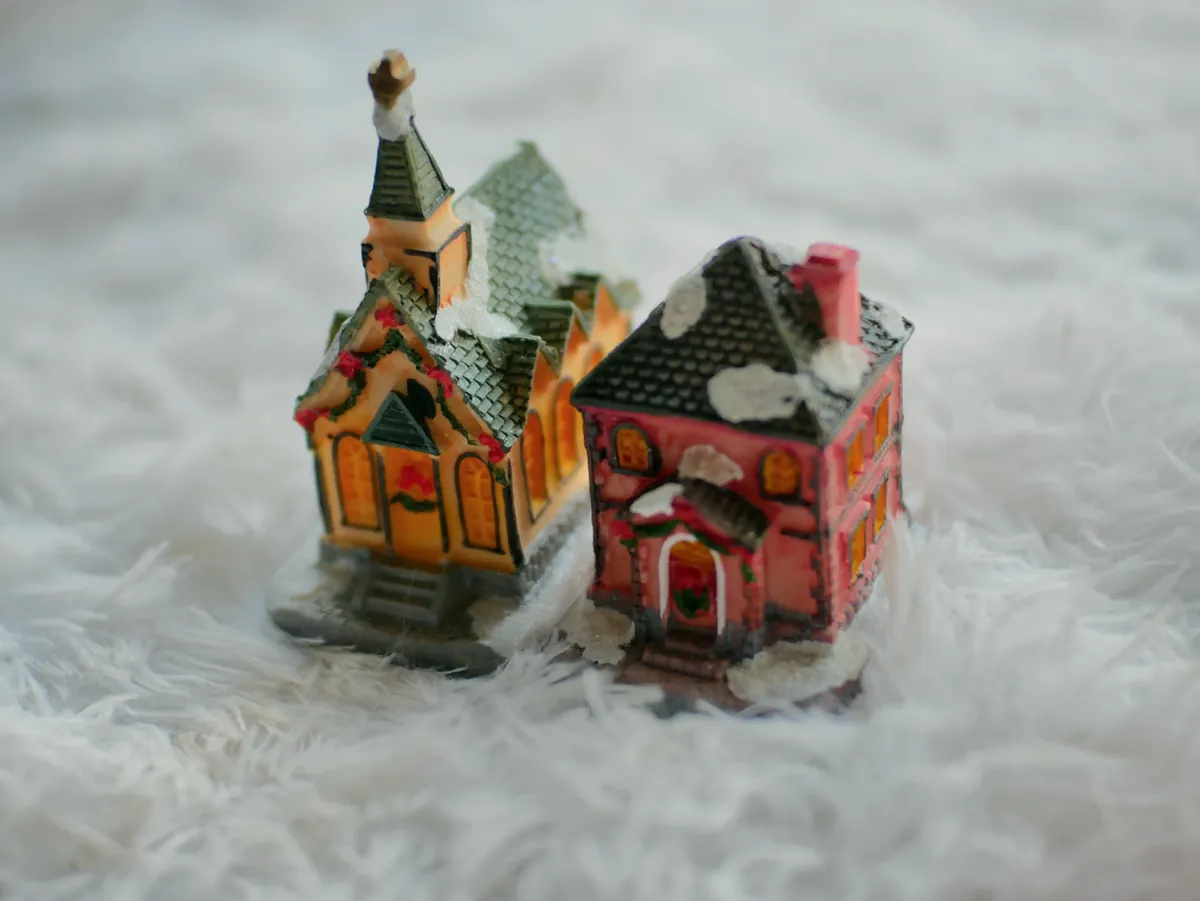
Wide-mouth mason jars hold pocket-sized villages: a pinch of snow, one tiny house, a tree, a figure. Line several along a windowsill, tie ribbon around the necks, and you have a village in every room. Kids love making these, and they double as handmade gifts.
19. A Shadow Box Village on the Wall
No surface space? Build your village inside a deep shadow box frame and hang it. Layer buildings at different depths against a painted winter backdrop, add micro fairy lights, and you have a glowing 3D picture that stays dust-free and out of reach of toddlers and pets.
20. A Sideboard Scene With Room to Breathe
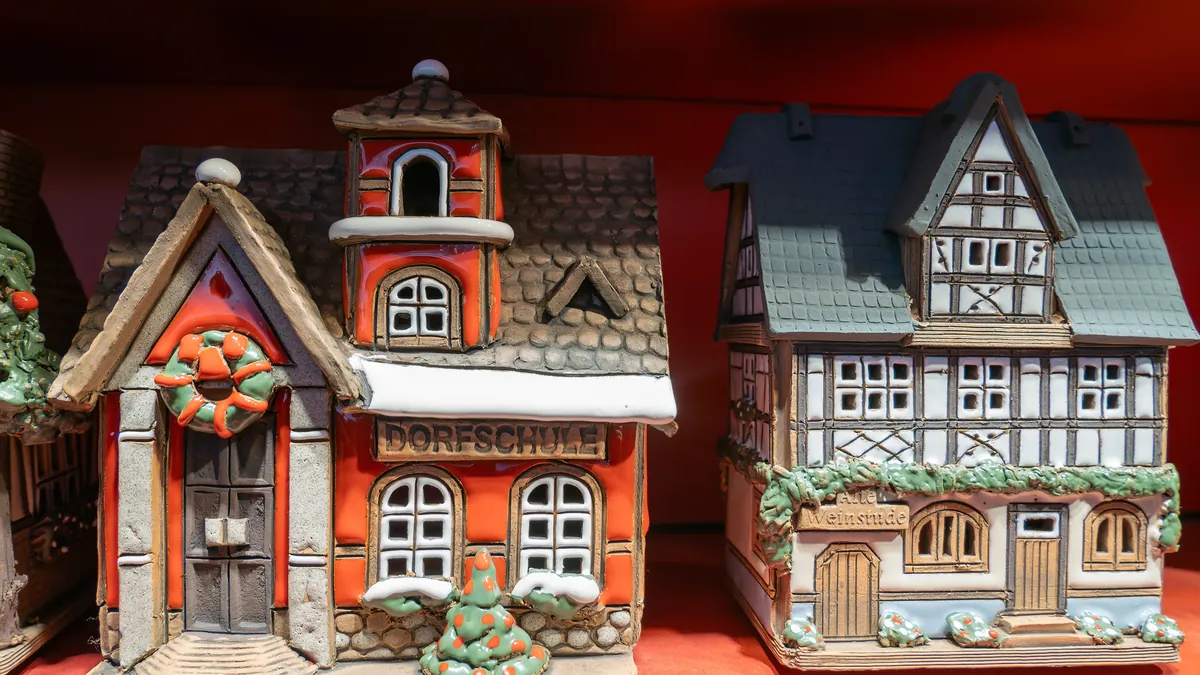
On a sideboard, restraint wins. Five to eight pieces with generous space between the houses looks curated; cramming every piece you own looks cluttered. Leave one end for holiday dishes or candles so the village feels like part of the room’s styling. Negative space is a design choice.
21. A Play-Friendly Village for Kids
Let the little ones have their own village with sturdy plastic or wooden houses on a low table, skipping the glass and glitter. Make it interactive: move the figures a little each day like an advent calendar. They will remember building it far longer than they remember looking at yours.

22. Add One Piece Every Year
The most charming villages have history. Add one meaningful piece each Christmas: the bakery the year you moved, a little school when the kids started classes. Write the year on the bottom of each piece. In a decade you will have a village that is also a family timeline.
Christmas Village Display Tips
- Hide the cords first. Run wiring before the snow goes down, and choose battery options where you can.
- Stick to one scale. Mixing very large and very small pieces breaks the illusion.
- Light from within. Houses glow from their windows, not from a lamp pointed at them.
- Photograph at dusk. Blue hour outside plus warm windows inside is when your village looks its best.
- Store pieces wrapped. Wrap each building in tissue and bag the figures with labels for next year.
FAQs
How much space do I need for a christmas village display?
Far less than you think. A charming village fits on a 2-foot tray, a single mantel, or one bookshelf. Start with the surface you have and let the collection grow over the years.
How do I hide cords in my christmas village display?
Plan wiring before adding snow: run cords along the back and tuck them under the snow base. Battery-operated lights and LED tea lights eliminate cords entirely for small displays.
Can I mix different village brands in one display?
Yes, as long as the scale is close. Department 56, Lemax, and craft-store pieces mix well at roughly the same size. Keep wildly different scales on separate displays.
When should I set up my christmas village?
Most collectors set up the weekend after Thanksgiving. Give yourself a full afternoon the first time; once you have a layout you love, future years take about an hour.
A Village Worth Coming Home To
A Christmas village is never really finished, and that is the point. Each year you adjust a street, add a lamppost, or find the perfect little bakery, and the town grows with your family. Pick the display idea that fits your space and let the warm windows do the rest.





2 Comments